
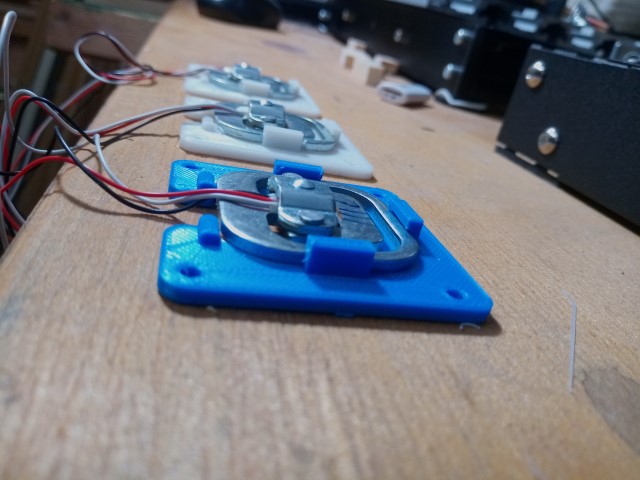
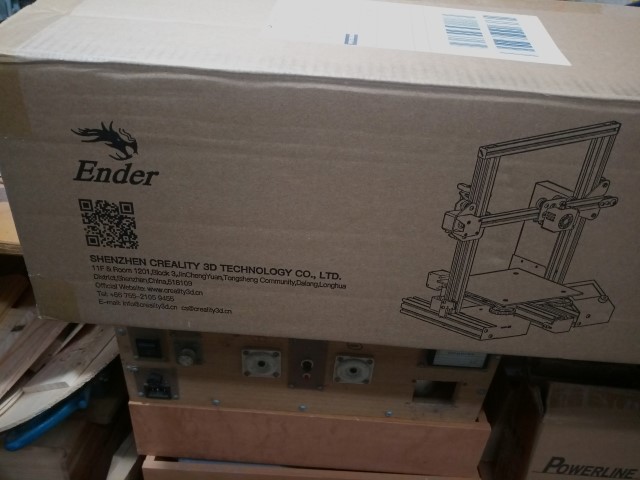
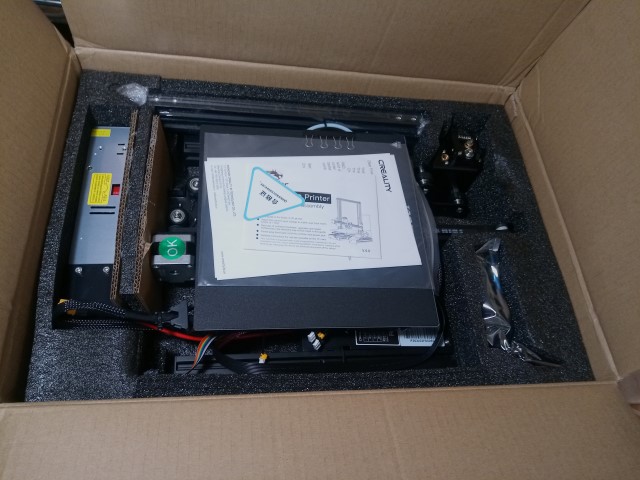
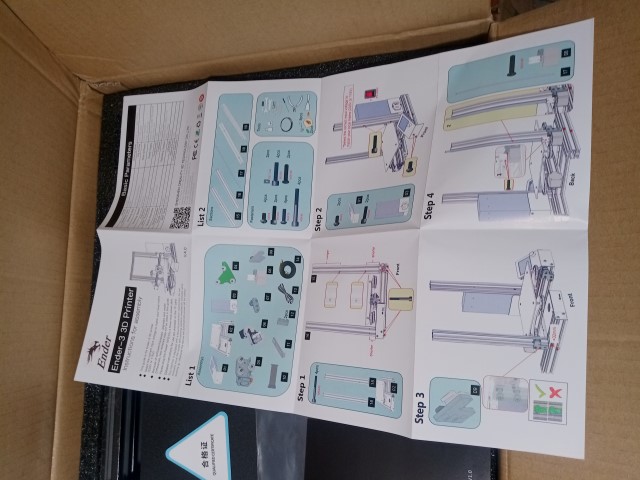
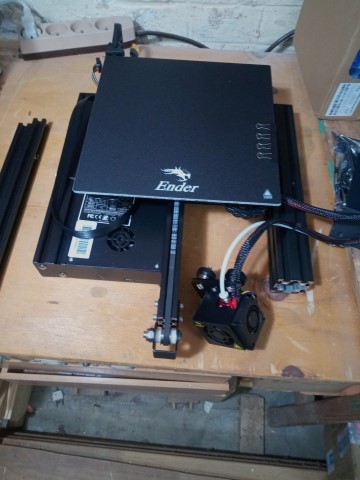
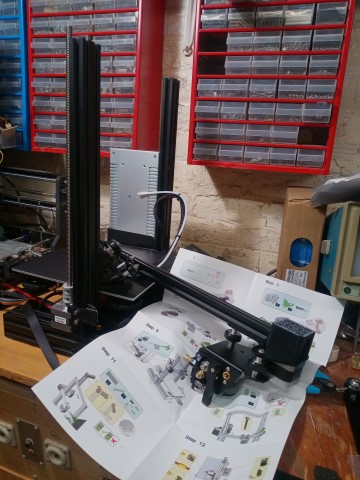
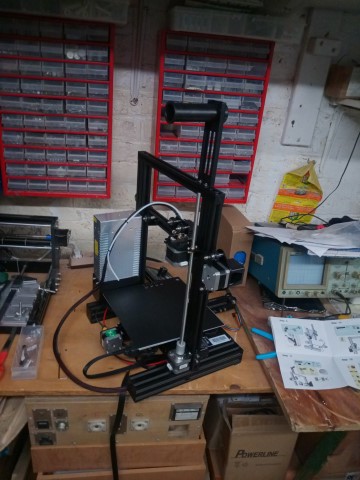
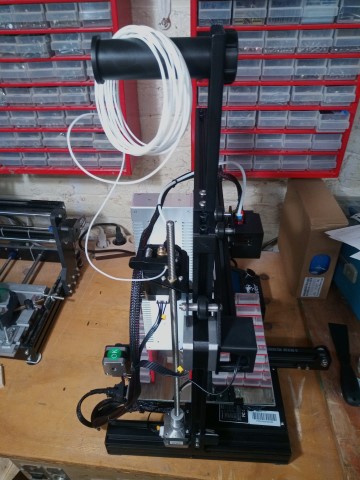
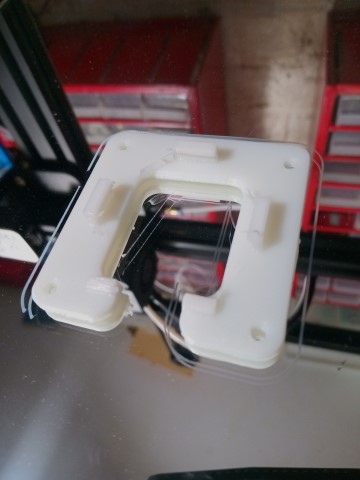
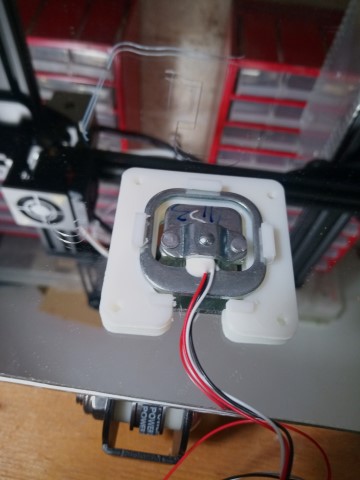
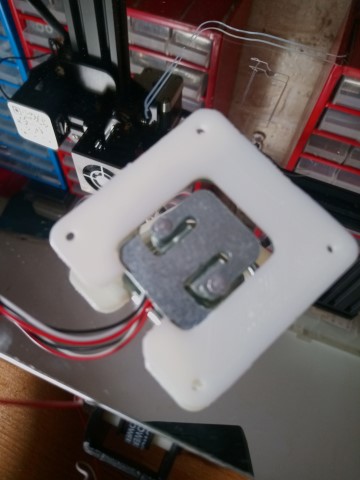
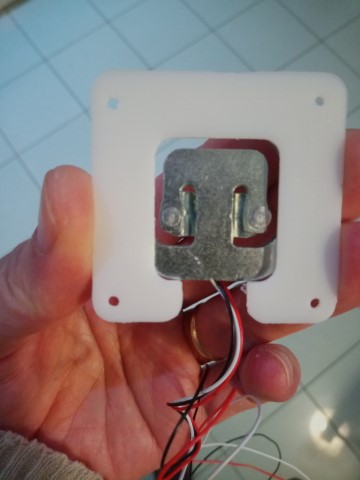
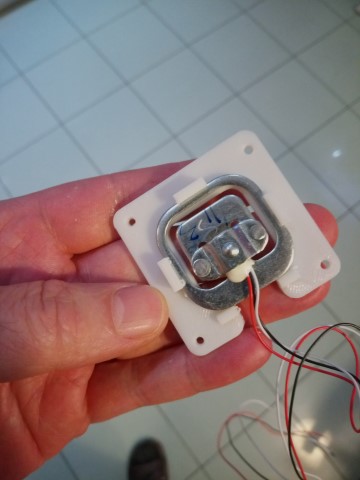
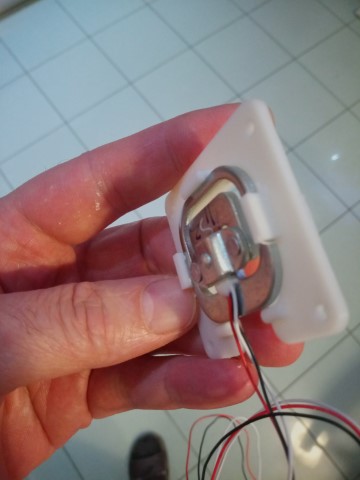
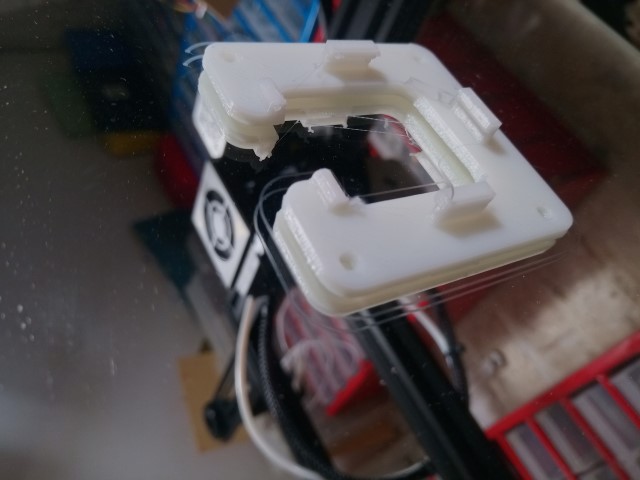
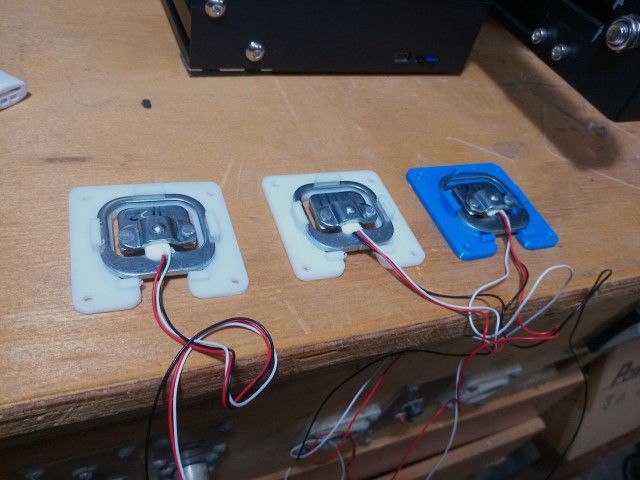
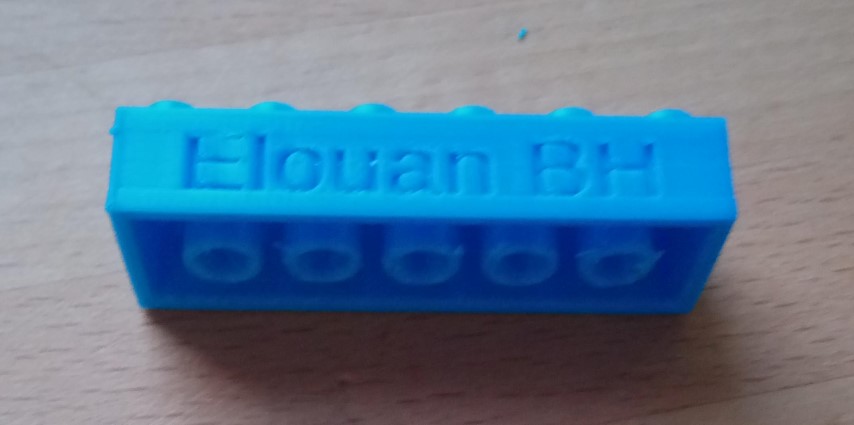
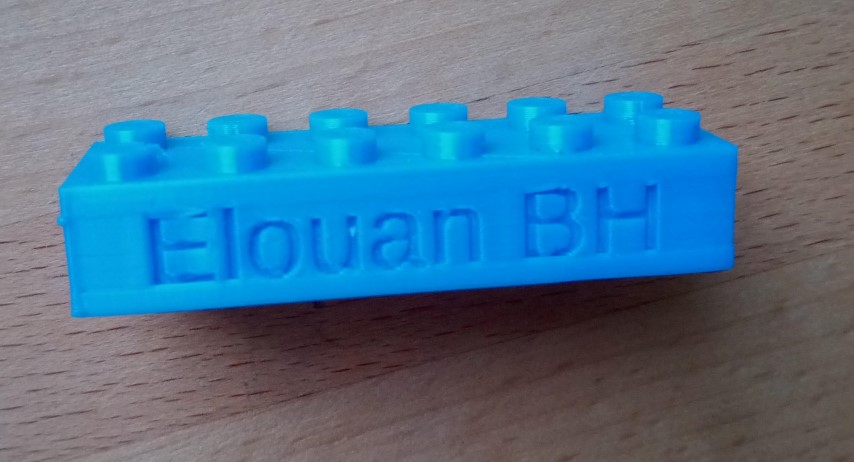
Assemblage d’une imprimante 3D, modèle Creality Ender 3 Pro puis test avec impression de supports de capteur de poids de ruche (télémesure).
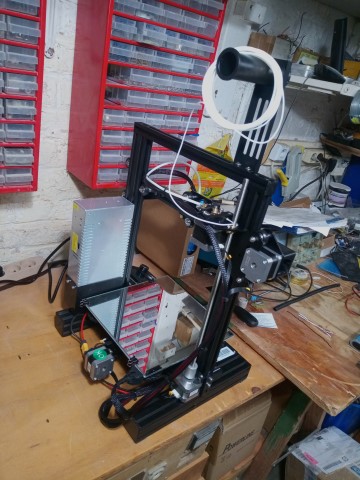
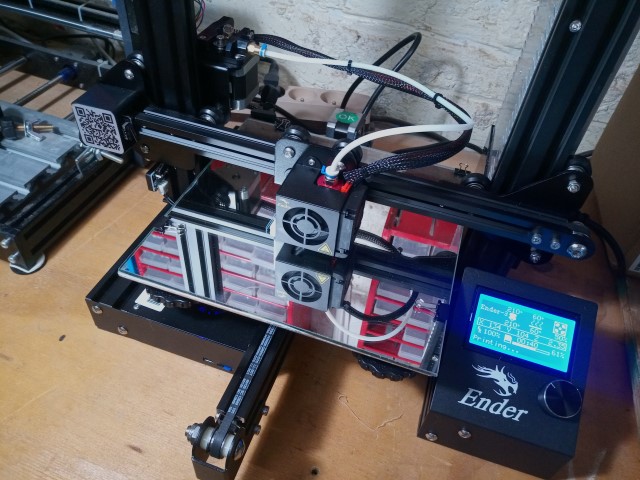

Et voilà le travail !!!


Petit fichier permettant de calibrer rapidement le plateau avant de lancer une impression :
M117 Calibrating        ;Put printing message on LCD screen
;M190 S60                ;wait and set bed temperature
;M109 S210               ;wait and set head temperature
G21                     ;metric values
G90                     ;absolute positioning
M82                     ;set extruder to absolute mode
M107                    ;start with the fan off
G28 X0 Y0               ;move X/Y to min endstops
G28 Z0     	            ;move Z to min endstops
G0 F12800               ;adjust speed
G0 Z10                  ;move the platform down 10mm
G0 X20 Y20
G0 Z0                   ;move Z to 0
M0 Adjust and click 1/8
G0 Z10                  ;move the platform down 10mm
G0 X220 Y220
G0 Z0                   ;move Z to 0
M0 Adjust and click 2/8
G0 Z10                  ;move the platform down 10mm
G0 X20 Y220
G0 Z0                   ;move Z to 0
M0 Adjust and click 3/8
G0 Z10                  ;move the platform down 10mm
G0 X220 Y20
G0 Z0                   ;move Z to 0
M0 Adjust and click 4/8
G0 Z10                  ;move the platform down 10mm
G0 X110 Y110
G0 Z0                   ;move Z to 0
M0 Adjust and click 5/8
G0 Z10                  ;move the platform down 10mm
G0 X220 Y220
G0 Z0                   ;move Z to 0
M0 Adjust and click 6/8
G0 Z10                  ;move the platform down 10mm
G0 X20 Y220
G0 Z0                   ;move Z to 0
M0 Adjust and click 7/8
G0 Z10                  ;move the platform down 10mm
G0 X220 Y20
G0 Z0                   ;move Z to 0
M0 Adjust and click 8/8
G0 Z10                  ;move the platform down 10mm
;End GCode
G28 X0 Y0               ;move X/Y to min endstops, so the head is out of the way
M84                     ;steppers off